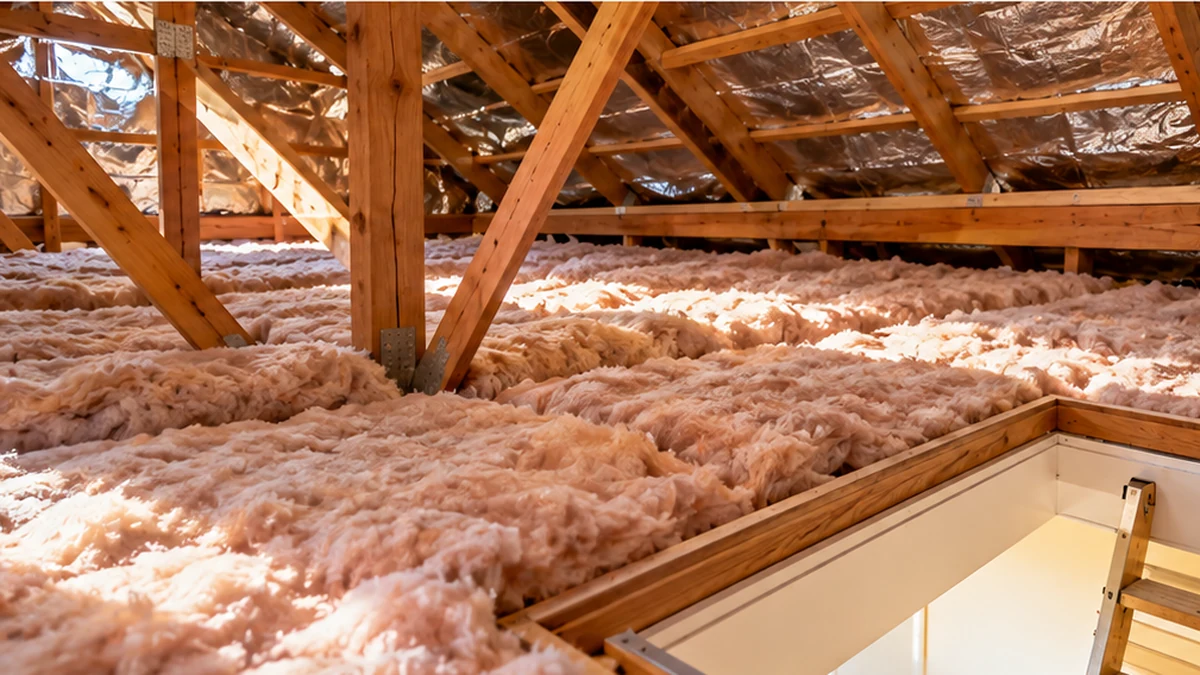
If you are deciding ceiling vs wall insulation which first, the best answer for an existing Australian home is usually: upgrade the ceiling first when it is uninsulated, patchy, compressed or clearly below the target for your climate and the roof space is accessible. Wall insulation can become the better first move when the ceiling is already in good condition, the walls are uninsulated, or a renovation is about to expose the wall cavities anyway.
The key is not to choose by a headline percentage. The priority depends on what your home already has, the area of each building element, access and installation cost, climate, construction type, air leakage, windows and how well the insulation can be installed. Australian guidance from YourHome and energy.gov.au treats insulation as a whole-envelope measure across roofs, ceilings, walls and floors rather than a single universal upgrade.
Table of Contents
Quick answer: ceiling or walls first?
| Your situation | Usually the better first check | Why |
|---|---|---|
| No ceiling insulation, obvious gaps or very old compressed batts | Ceiling | Roof-space access is often easier and the defect can affect a large, continuous surface. |
| Ceiling is already well insulated and continuous, but external walls are uninsulated | Walls | Another ceiling top-up may have diminishing returns while the walls remain a weak part of the envelope. |
| You are removing plasterboard or recladding external walls | Walls during the renovation | The cavity is open, which can remove much of the access and disruption disadvantage of a wall retrofit. |
| Roof space is inaccessible or crowded with services and ducts | Assess both | The practical cost of achieving complete ceiling coverage may change the order. |
| There are moisture, roof-leak, wiring or condensation concerns | Fix the underlying issue first | Insulation should not hide a building, electrical or moisture problem. |
This is a prioritisation guide, not a building-code specification. For a new build, major renovation or compliance-related project, confirm the current NCC and state or territory requirements for the actual construction.
Why ceiling insulation often comes first in an existing home
For many existing houses, the ceiling is the logical first place to inspect because a roof space can be easier to access than a concealed wall cavity. Sustainability Victoria’s ceiling-insulation guidance specifically recommends checking whether existing insulation has settled, compressed, become thin or needs topping up. It also notes that roof-space access, ducts, electrical wiring and other obstacles can affect how well the job can be completed.
The ceiling also tends to offer a relatively continuous area where missing sections are easy to understand. A small uninsulated strip around an access hatch, downlight, bulkhead or duct can create a local weak point, so installation quality matters as much as the nominal R-value printed on the batt.
But “ceiling first” is not a rule for every home. If you already have continuous, climate-appropriate ceiling insulation in good condition, adding another layer may produce a smaller improvement than fixing a completely uninsulated wall system.
When wall insulation should move ahead of another ceiling upgrade
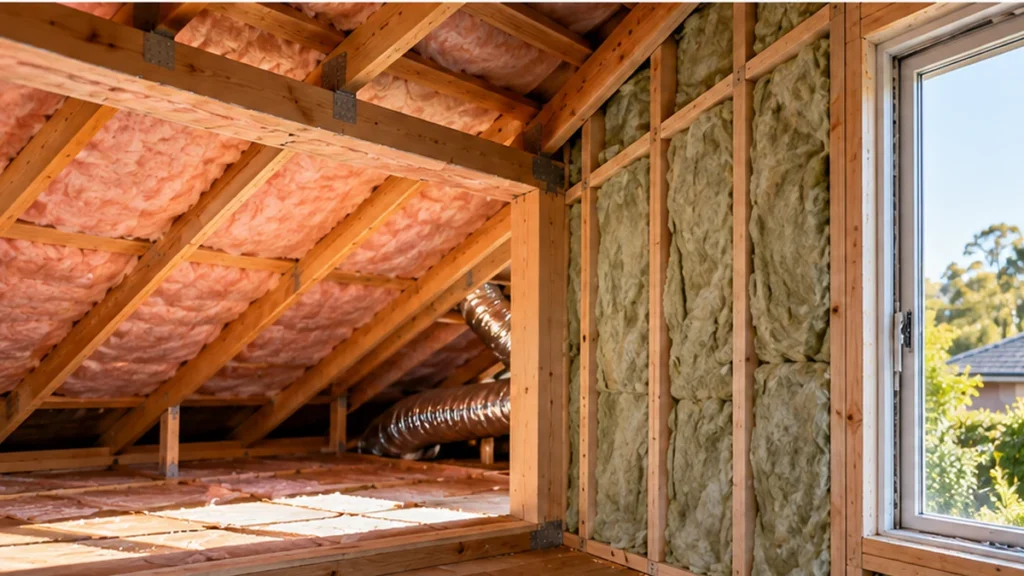
Wall insulation becomes a stronger priority when the ceiling is already performing reasonably well and the external walls are known to be uninsulated or poorly insulated. YourHome notes that retrofitting existing walls is usually harder than upgrading ceilings or floors because the wall cavity is concealed. Common retrofit approaches can include cavity-fill systems or installing insulation when internal linings or external cladding are removed.
That access issue is why renovation timing can completely change the economics. If plasterboard is already coming off for electrical work, a kitchen renovation, extension or recladding project, wall insulation may be worth doing at the same time rather than closing the wall and paying to open it again later. Sustainability Victoria’s wall-insulation guidance likewise highlights renovation as an ideal opportunity to insulate existing wall framing.
Start with an insulation audit, not a guess
Before buying insulation, work out what is actually present. For the ceiling, the useful questions are: Is there insulation across the whole conditioned ceiling? What type is it? Is it compressed, wet, moved aside or contaminated? Are there large gaps around access hatches, ducts, fans, exhausts or services? Is there enough space to add insulation without compressing it?
Walls are harder to inspect without drawings, a renovation opening, a borescope inspection by a suitable professional or other evidence of the wall build-up. Do not assume that an older wall is insulated just because it feels solid. At the same time, do not inject or add material into an unknown cavity without checking moisture exposure, services and construction suitability.
The HomeBillLab R-value selection guide explains why the target depends on climate and building element. If you need the basics first, see What Is R-Value?.
Compare the weak point, not just the higher R-value
R-value measures resistance to heat flow. For a simple comparison, conductive heat flow through an element is inversely related to R-value: increasing R-value reduces heat flow through that element when area and temperature difference stay the same. This does not mean the percentage reduction through one element becomes the same percentage reduction on your electricity bill.
For example, moving a simple assembly from R1.0 to R4.0 would reduce the modelled conductive heat flow through that same area by 75% under the same temperature difference. Moving another element from R1.0 to R2.5 would reduce its modelled conductive heat flow by 60%. The whole-home result still depends on the area of each element, framing, windows, air leakage, shading, thermal bridges and heating or cooling use.
Use the HomeBillLab Insulation R-Value Calculator to compare conductive heat-flow scenarios using your own areas, R-values and temperature difference. Treat the result as a building-element comparison, not a guaranteed bill saving.
Ceiling top-up or uninsulated walls: watch for diminishing returns
One of the most useful retrofit principles is that fixing a major weakness can be more valuable than endlessly improving an element that is already reasonably strong. A ceiling with no insulation is a different problem from a ceiling that already has a continuous high-R layer. Similarly, completely uninsulated external walls are different from walls that already contain correctly installed insulation.
This is why the order can flip. If the ceiling is bare, it often deserves attention first. If the ceiling is already well insulated, the next dollar may be better directed to walls, floors, draught sealing, shading or windows depending on the home. The federal insulation and draught-proofing guidance emphasises that roof, wall and floor insulation work together to reduce heating and cooling demand.
Climate and construction can change the order
Australia spans very different climates, so a retrofit sequence that makes sense in one location may not be optimal in another. The required and useful thermal performance also changes with roof form, wall type, framing and whether heat is mainly moving into or out of the building across the season.
Metal framing deserves particular attention because it can create strong conductive paths around insulation. The ABCB guidance on thermal bridging explains that metal-framed roofs, ceilings and walls may need specific measures to prevent the framing from bypassing the insulation. That is another reason not to compare “R4 ceiling versus R2.5 wall” as if those product numbers describe the whole installed assembly.
Installation quality can outweigh the upgrade order
An R-value target only helps when the insulation is installed correctly. Gaps, compression, displaced batts and incomplete coverage reduce performance. Sustainability Victoria’s installation guidance stresses continuity, keeping insulation against the air barrier where appropriate, avoiding compression and detailing around services.
Safety also matters in roof spaces. Electrical wiring, recessed equipment, exhausts, flues, moisture and access constraints can require professional assessment. If there is a roof leak, condensation, damaged wiring or mould, fix the underlying issue before covering it with more insulation.
A practical upgrade sequence for an existing home
- Identify defects first. Check moisture, leaks, electrical safety, missing sections and obvious air leakage.
- Inspect the ceiling. If it is bare, patchy or badly degraded and access is practical, ceiling insulation is often the first insulation project to price.
- Check whether the walls are already insulated. If they are not, plan wall insulation for the next renovation or recladding opportunity.
- Compare the whole envelope. Floors, draughts, glazing and shading may be larger weaknesses than another insulation top-up.
- Use climate-appropriate targets. Do not copy an R-value from another state, another construction type or a social-media rule of thumb.
- Get quotes for complete installation. Compare coverage, preparation, safety work and the finished assembly—not only the advertised batt R-value.
What about new builds and major renovations?
For a new build, “which one first?” is the wrong framing. Roofs or ceilings, external walls and relevant floors should be designed as one continuous thermal envelope. The current NCC building-fabric provisions require insulation to form a continuous barrier where required and include specific treatment for thermal bridging in some constructions. See the ABCB building-fabric provisions for the national framework, then check the applicable state or territory adoption and project documentation.
For a major renovation, sequencing should follow access. If the roof is open, fix the roof/ceiling insulation detail properly. If the external walls are open, insulate them before relining. Missing those opportunities can make the same work much more disruptive later.
FAQ about Ceiling vs Wall Insulation
Is ceiling insulation always more important than wall insulation?
No. Ceiling insulation is often a practical first retrofit when it is missing and the roof space is accessible, but wall insulation may be the better priority if the ceiling is already well insulated or the walls are being opened during renovation.
Should I top up the ceiling before insulating empty walls?
Not automatically. First compare the existing ceiling condition and R-value with the wall condition, access cost and area. A small ceiling top-up can have diminishing returns, while completely uninsulated walls may remain a major weak point.
Can wall insulation be added without removing plasterboard?
Sometimes, depending on wall construction and the retrofit system, but the cavity should be assessed first. Moisture, wiring, pipes, cavity condition and compatibility all matter. Internal relining or external recladding can be the safer and more predictable opportunity in some homes.
Will insulation alone fix a hot or cold house?
Not always. Insulation is a core part of the thermal envelope, but air leakage, windows, shading, orientation, moisture, heating and cooling equipment and occupant behaviour can also dominate comfort and energy use.
Bottom line
For ceiling vs wall insulation which first, start by finding the weakest practical part of your home rather than assuming one building element always wins. In many existing Australian houses, a missing or poor ceiling layer is the easiest high-priority insulation defect to fix. Once the ceiling is already continuous and suitable for the climate, uninsulated walls can move to the front of the queue—especially when renovation gives you low-disruption access.
For more insulation guides, visit the HomeBillLab Insulation hub. For how we handle assumptions and worked examples, see the HomeBillLab Methodology.